If you’re searching for ways to level up your gameplay, boost performance, and get more out of your setup, you’re in the right place. Whether you’re chasing smoother frame rates, sharper visuals, or better competitive response times, this article is built to help you make smarter gaming decisions—fast.
We break down trending game highlights, explain core mechanics in simple terms, compare console performance, and share practical emulator optimization strategies that actually work. You’ll also learn how to optimize gaming monitor settings for clearer visuals and reduced input lag—because even the best hardware underperforms without the right configuration.
Our insights are based on hands-on testing, performance benchmarking, and deep analysis of real gameplay scenarios—not just spec sheets. By the end of this guide, you’ll know exactly which tweaks matter, which upgrades are worth it, and how to fine-tune your setup for smoother, more immersive gaming.
Unlock Your Monitor’s True Performance Potential
A 240Hz panel running at default settings is like a sports car in eco mode. High refresh rate alone doesn’t guarantee clarity; configuration determines results.
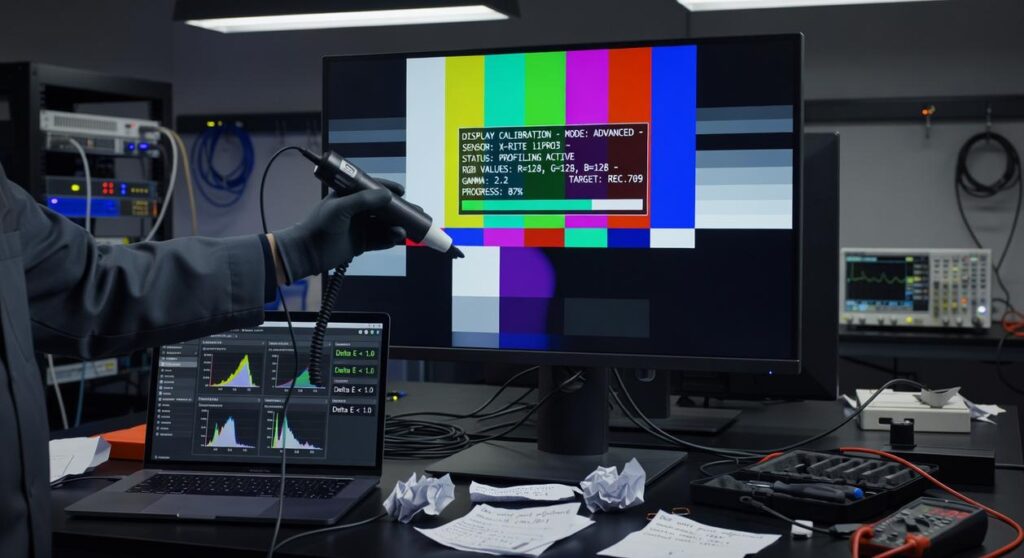
Consider this comparison:
- Factory Settings: V-Sync on, motion smoothing enabled, generic color profile—higher input lag and ghosting.
- Tuned Settings: Adaptive sync aligned with GPU, overdrive balanced, response time optimized—lower latency and sharper motion.
Some argue defaults are “good enough.” For casual play, maybe. But competitive titles punish milliseconds (yes, it’s dramatic).
When you optimize gaming monitor settings, you reduce blur, tighten response, and gain consistency—A/B and feel difference.
The First Step: Mastering Your Monitor’s On-Screen Display (OSD)
Before you install a single driver or tweak GPU software, have you actually opened your monitor’s On-Screen Display (OSD)? The OSD is the built-in control panel inside your monitor, letting you adjust hardware-level settings that software can’t override.
Start with Refresh Rate. Head to the information panel and confirm you’re running at the advertised 144Hz or 240Hz. You’d be surprised how many gamers are stuck at 60Hz without realizing it (yes, even in 2026). If your monitor is capable of more, why leave frames on the table?
Next is Response Time, often labeled Overdrive—a feature that speeds up pixel transitions. Higher sounds better, right? Not always. The “Extreme” setting often causes inverse ghosting (a bright halo trailing moving objects). Medium or “Fast” usually delivers the cleanest motion.
| Setting | Recommended Option | Why It Works |
|—————|——————-|————–|
| Refresh Rate | Max supported | Smooth motion |
| Overdrive | Medium/Fast | Less ghosting |
| Game Presets | Standard/User | Accurate image |
What about built-in FPS or RTS modes? Some argue they’re optimized already. But they often crush blacks or oversaturate colors, hiding detail in dark scenes. Choose a neutral profile instead.
If you truly want to optimize gaming monitor settings, the OSD is your foundation.
Eliminating Screen Tearing: A Guide to G-Sync and FreeSync
Screen tearing is that annoying visual glitch where your display shows parts of multiple frames in a single draw. In plain terms, your GPU (graphics processing unit) and monitor are out of sync—like two drummers playing at slightly different tempos. The result? A horizontal “tear” across your screen, especially noticeable during fast camera pans.
So, what’s the fix? Adaptive Sync.
What Is Adaptive Sync?
Adaptive Sync is a display technology that dynamically matches your monitor’s refresh rate (how many times per second the screen updates) to your GPU’s frame rate (how many frames your graphics card renders per second). NVIDIA calls it G-Sync. AMD calls it FreeSync. Different branding, same core idea: eliminate tearing without the heavy input lag of traditional V-Sync.
Personally, I think once you’ve experienced proper Adaptive Sync, there’s no going back. Fast-paced games feel noticeably smoother—like upgrading from standard definition to 4K (okay, not literally, but it feels close).
How to Enable It Properly
First, enable G-Sync or FreeSync in your monitor’s on-screen display (OSD). Then open your NVIDIA Control Panel or AMD Radeon Software and activate it for your display.
Here’s my preferred setup—the pro-gamer combination:
- G-Sync/FreeSync: ON
- V-Sync: ON (in GPU control panel only)
- In-game FPS cap: 3–5 FPS below max refresh rate
This keeps Adaptive Sync active and avoids traditional V-Sync lag. Some argue V-Sync should always be off for minimal latency. I disagree. When configured correctly, this method feels tighter and cleaner.
If you’re serious about performance, take time to optimize gaming monitor settings. Small tweaks make a massive difference.
Calibrating for Visual Clarity: Brightness, Contrast, and Color

Optimal performance isn’t just about FPS numbers flashing in the corner. It’s about ACTUALLY seeing what’s happening before you’re back at the respawn screen. Speed is useless if your monitor is a fog machine.
Brightness: Most players crank this way too high. The common advice? “Brighter is better.” I disagree. Set brightness to match your room’s ambient lighting so whites are vivid but not BLINDING. If your eyes feel tired after one match, it’s too high (your retinas shouldn’t feel like they ran a marathon).
Contrast: This defines the gap between the brightest whites and darkest blacks. Use tools like the Lagom LCD test pages to spot subtle details in both extremes. If you lose detail in shadows or highlights, your settings are off—no matter how “punchy” it looks.
Color Temperature: Ignore the flashy “Cool” preset. The 6500K “Warm” or “Standard” setting is closer to natural daylight and reduces fatigue (per display calibration standards from the International Commission on Illumination).
- Black Equalizer / Shadow Boost: Yes, it reveals enemies. No, you shouldn’t max it. Overuse WASHES OUT contrast and kills immersion.
When you optimize gaming monitor settings, subtle tweaks beat dramatic swings. And before blaming thermals for dull visuals, check your setup basics like cable management and airflow improving your gaming rigs cooling.
Advanced Settings for a Competitive Edge
You’ve tweaked brightness, fixed input lag, and still lost that 1v1. Frustrating, right? Once you optimize gaming monitor settings at a basic level, these advanced tweaks can squeeze out those last competitive gains (the kind that turn “almost” into “clutch”).
- Motion Blur Reduction (ULMB, DyAc, ELMB): This backlight strobing tech mimics old-school CRT clarity, making fast targets sharper. The catch? Lower brightness and no Adaptive Sync. It’s a trade-off built for ultra-high FPS shooters where every frame counts.
- Vibrance / Saturation: NVIDIA Digital Vibrance or AMD Saturation between 60–75% can help enemies pop from muddy backgrounds. If you’ve ever lost someone in a dark corner, you know the pain.
- Aspect Ratio Control: Display Scaling on the monitor often means less input lag than GPU scaling—crucial if you’re running stretched resolutions.
Some argue these tweaks are placebo. But when milliseconds decide matches, small edges add up.
Putting It All Together for a Transformed Gaming Experience
You no longer have to guess whether your monitor is holding you back. Once you optimize gaming monitor settings beyond factory presets, you stop playing on “store mode” and start playing on purpose.
Some gamers insist defaults are good enough. They’re not. Defaults are built to survive fluorescent showrooms, not late‑night ranked matches (big difference).
By dialing in OSD controls, sync tech, color calibration, and a few advanced tweaks, you’ve crushed lag, blur, and muddy shadows.
- Smoother motion
- Faster response
- Clearer targets
Launch your favorite title. The upgrade isn’t subtle—it’s foundational performance.
Level Up Your Gameplay Starting Today
You came here to get clearer performance insights, smoother gameplay, and smarter setup strategies—and now you have them. From understanding core mechanics to comparing console performance and fine-tuning emulators, you’re equipped to eliminate lag, boost responsiveness, and make every session count.
The truth is, most frustrating gaming moments come down to poor optimization and overlooked settings. Missed frames, input delay, blurry visuals—these small issues stack up and hold you back from playing at your best.
Now it’s time to take action.
Start by reviewing your system performance, dial in your emulator configurations, and optimize gaming monitor settings to unlock sharper visuals and faster response times. Small adjustments can create a massive competitive edge.
If you’re serious about smoother gameplay and peak performance, don’t stop here. Explore more in-depth optimization guides, performance breakdowns, and setup strategies trusted by thousands of dedicated players.
Your setup should work as hard as you do—tune it, test it, and start playing at the level you know you’re capable of.