Does your gaming setup look perfect until the match starts? Then the desk shakes, the screen feels wrong, one cable catches your foot, and the headset battery warning arrives at the worst possible moment.
That’s not a minor annoyance. It’s your room asking to be organized around the way you actually play.
A better gaming setup rarely begins with a giant shopping cart. It begins on an ordinary evening, after a frustrating session, when you notice the small things stealing your attention. The chair is too low. The monitor is off to one side. Your controller has no home. Fix those first, and the whole space starts to feel different.
Start with the screen you already own
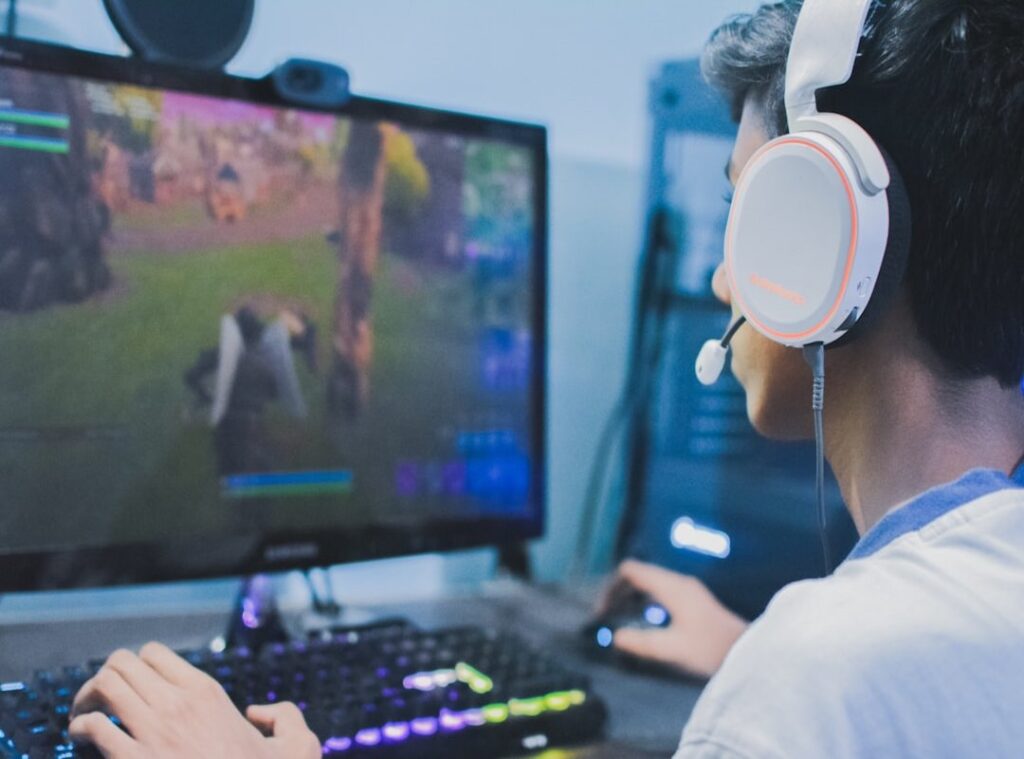
The monitor or TV is where the room points. Place it directly in front of your usual seat, with the center of the display near your natural line of sight. You shouldn’t need to tilt your head back or twist your neck every time an enemy appears at the edge of the map.
Move it before you buy it. A monitor arm can free desk space, but even a stable stand and a few minutes of adjustment can make a difference. Sit down, open a familiar game, and notice where your eyes land during a quiet menu screen. That position is your starting point.
Lighting comes next. A lamp aimed behind the screen or toward a wall can soften the hard contrast between a bright display and a dark room. Avoid putting a bare light directly behind you; it can reflect in the panel and turn dark scenes into a mirror. Nobody needs to spot their own tired face during a horror game.
Let the desk earn its space
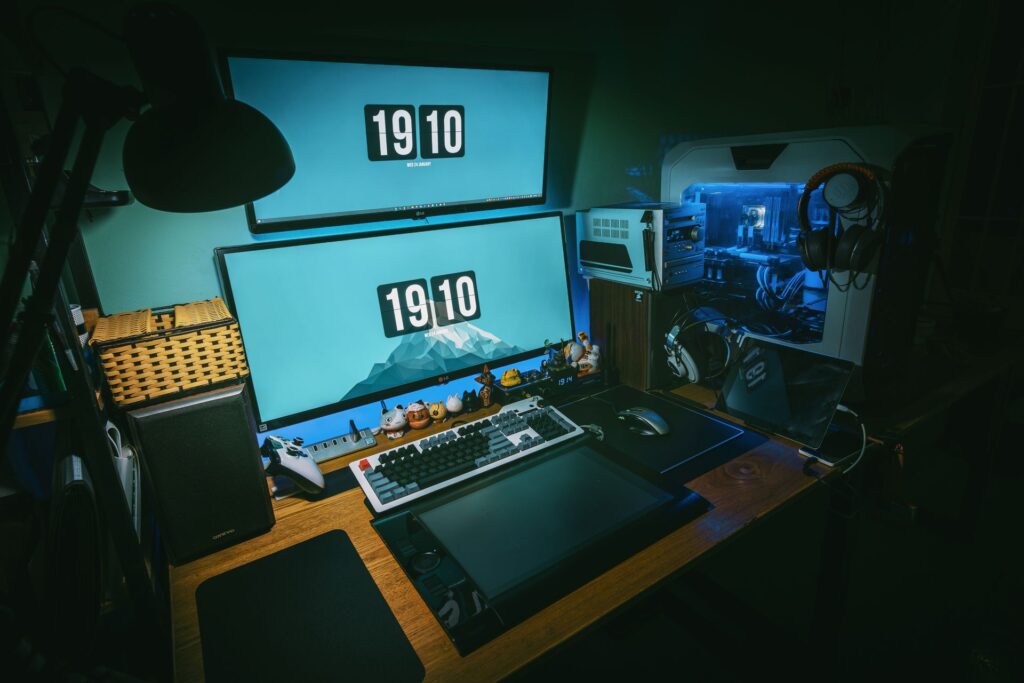
Once the screen is settled, the desk reveals its problems. A crowded surface makes every accessory feel temporary, even if the hardware is great. Leave a clear landing area for the controller, mouse, or handheld device you use most. The gear should be reachable without a scavenger hunt.
Follow the path of each cable from device to outlet. Group the ones that belong together, route them behind the desk where possible, and give yourself enough slack to move the chair.
Cable clips, sleeves, and simple reusable ties aren’t glamorous. They’re a game changer when you need to unplug one thing without dragging half the setup with it.
A power strip with enough room for bulky adapters prevents another classic problem: one oversized plug blocking two useful outlets. Keep it accessible, not buried under a pile of boxes. A gaming setup is easier to upgrade when its power and cables are visible.
Build around your longest sessions
The chair often becomes the weak link after an hour or two. Adjust its height so your feet rest securely, and your arms can reach the keyboard or controller without your shoulders creeping upward. If the desk is fixed and the chair can’t get high enough, a footrest can be more useful than another decorative accessory.
Your input devices deserve the same attention. A mousepad that gives the mouse room to travel, a keyboard positioned squarely in front of you, and a controller charging spot near the desk remove tiny interruptions from the night. Those interruptions add up. So does the relief of sitting down and knowing everything’s charged.
This is also the moment to decide what stays out. One favorite controller on display can look intentional; six unused peripherals usually look like a repair bench. Put backup gear in a drawer, bin, or shelf nearby. Your gaming setup should support play, not demand constant tidying.
Set the digital side before the next match
A polished room can’t rescue poor settings. Check that the display is using its intended refresh rate, then tune brightness and in-game sensitivity with a title you know well. Change one setting at a time. If you change everything at once, you won’t know which adjustment made the game feel better or worse.
If you buy digital games, subscriptions, or add-ons while refining your library, keep the checkout method as deliberate as the rest of your setup. Skrill online payments can be one option for players who want a separate payment method for eligible gaming purchases.
The useful habit is reviewing the store, the platform, and the purchase before confirming it, especially when a late-night sale makes every bundle look essential.
Give the room a little personality
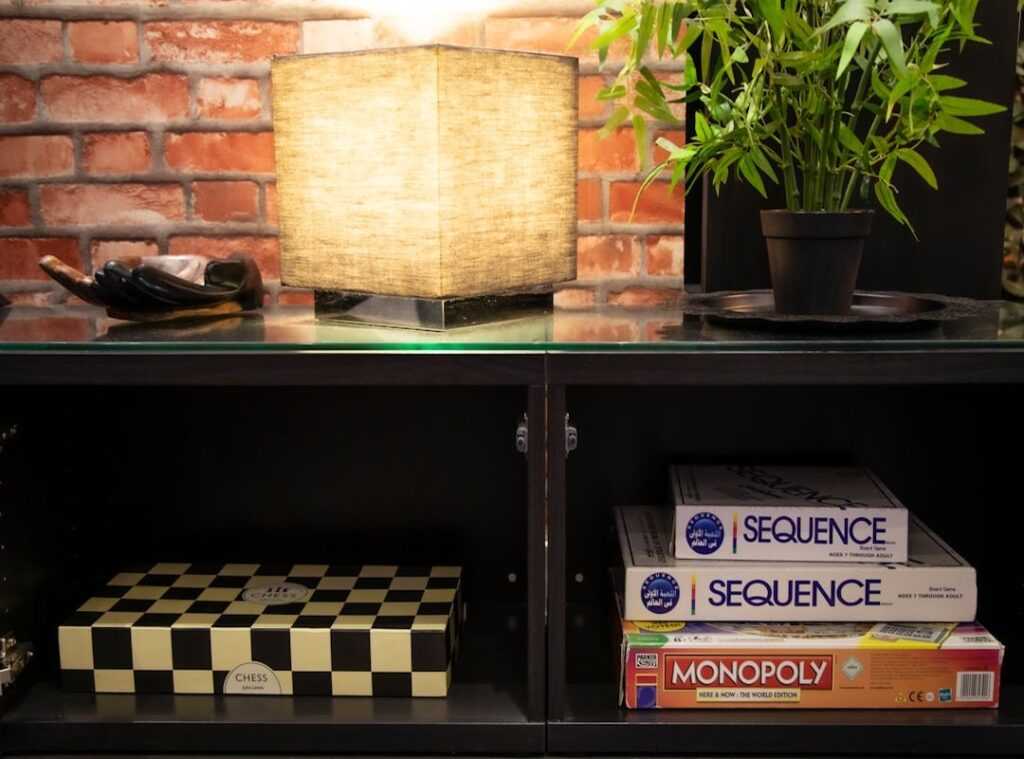
Only after the essentials work should the room get its finishing touches. A small shelf for game cases, a framed print, or a subtle light can make the space feel yours without crowding it. Choose one visual direction instead of chasing every trend: warm and minimal, arcade bright, retro, or clean black and white.
The best test happens during a normal session. Sit down with a drink, launch a game, and pay attention to what breaks the spell. Maybe it’s glare at sunset. Maybe your headset hook is too far away. Maybe the console needs a better shelf for airflow. Make one change, play again, and let the next irritation tell you what belongs in the room.
 Content & Features Manager
Lucila Owenslaver is the kind of writer who genuinely cannot publish something without checking it twice. Maybe three times. They came to trending game highlights through years of hands-on work rather than theory, which means the things they writes about — Trending Game Highlights, Core Mechanics and Gameplay, Pro Perspectives, among other areas — are things they has actually tested, questioned, and revised opinions on more than once.
That shows in the work. Lucila's pieces tend to go a level deeper than most. Not in a way that becomes unreadable, but in a way that makes you realize you'd been missing something important. They has a habit of finding the detail that everybody else glosses over and making it the center of the story — which sounds simple, but takes a rare combination of curiosity and patience to pull off consistently. The writing never feels rushed. It feels like someone who sat with the subject long enough to actually understand it.
Outside of specific topics, what Lucila cares about most is whether the reader walks away with something useful. Not impressed. Not entertained. Useful. That's a harder bar to clear than it sounds, and they clears it more often than not — which is why readers tend to remember Lucila's articles long after they've forgotten the headline.
Content & Features Manager
Lucila Owenslaver is the kind of writer who genuinely cannot publish something without checking it twice. Maybe three times. They came to trending game highlights through years of hands-on work rather than theory, which means the things they writes about — Trending Game Highlights, Core Mechanics and Gameplay, Pro Perspectives, among other areas — are things they has actually tested, questioned, and revised opinions on more than once.
That shows in the work. Lucila's pieces tend to go a level deeper than most. Not in a way that becomes unreadable, but in a way that makes you realize you'd been missing something important. They has a habit of finding the detail that everybody else glosses over and making it the center of the story — which sounds simple, but takes a rare combination of curiosity and patience to pull off consistently. The writing never feels rushed. It feels like someone who sat with the subject long enough to actually understand it.
Outside of specific topics, what Lucila cares about most is whether the reader walks away with something useful. Not impressed. Not entertained. Useful. That's a harder bar to clear than it sounds, and they clears it more often than not — which is why readers tend to remember Lucila's articles long after they've forgotten the headline.