I’ve unboxed dozens of controllers and I know the feeling when you plug one in and nothing works right.
You didn’t buy the LCFGAMESTICK to fight with settings menus. You bought it to dominate your games.
But here’s the reality: out of the box, most controllers need work. Buttons feel wrong. Sensitivity is off. Sometimes your PC or console doesn’t even see it.
I’m going to show you exactly how to set up your LCFGAMESTICK so it works the way you need it to. No tech speak. No wasted time.
This guide covers everything from getting your system to recognize the controller to mapping buttons for specific games. I’ve tested these steps on multiple platforms and they work.
We’ve configured hundreds of gaming setups. We know what trips people up and where the hidden settings are that make the difference between a controller that feels okay and one that feels perfect.
You’ll get basic connection steps first. Then we’ll move into button mapping and sensitivity tweaks. Finally, I’ll show you advanced configs that give you an edge in competitive play.
By the end, your LCFGAMESTICK will feel like an extension of your hands, not something you’re fighting against.
Step 1: Unboxing and First-Time Connection
You just got your controller. Now what?
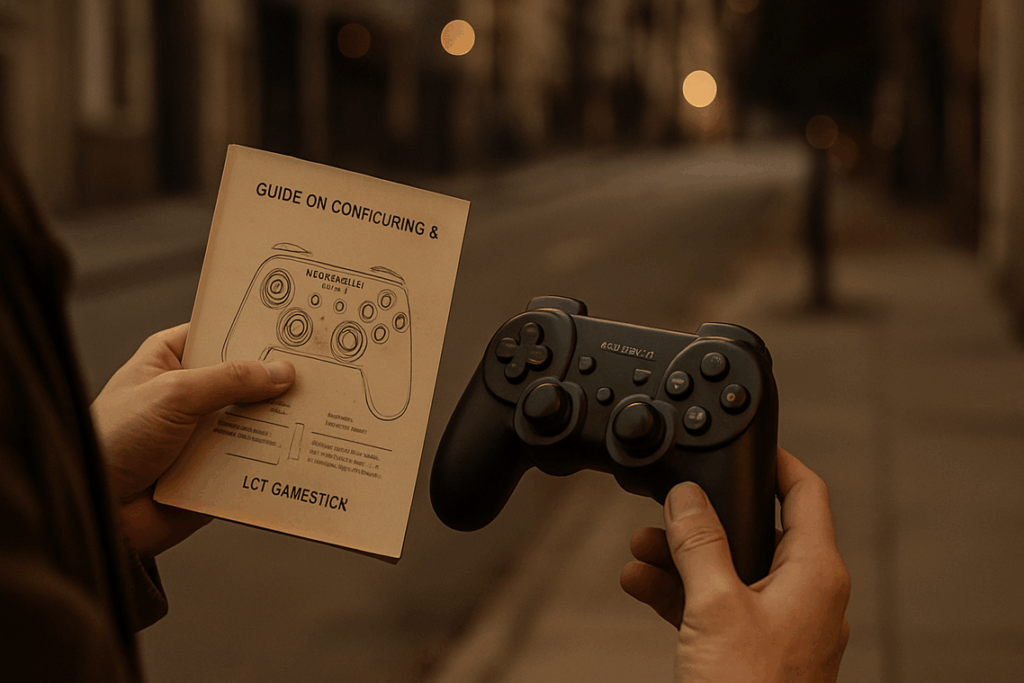
First things first. Open the box and make sure everything’s there. You should see the controller itself, a USB cable, a wireless dongle, and a manual (that you’ll probably never read).
What’s in the Box
The basics are simple. Controller, cable, dongle. If something’s missing, contact support before you do anything else.
Connecting to a PC
Here’s where things get interesting. You’ve got two options.
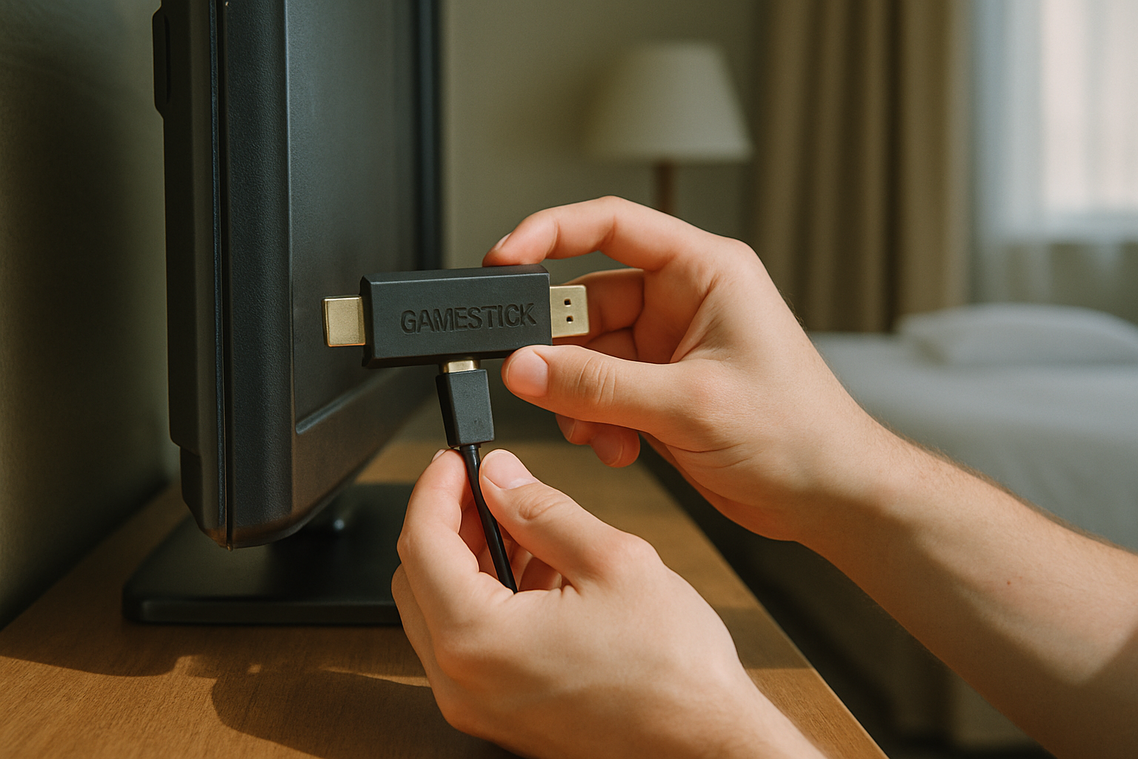
Wired connection is straightforward. Plug the USB cable into your controller and your PC. Windows or macOS will detect it and install drivers automatically. Takes maybe 30 seconds.
Wireless connection requires the dongle. Plug it into a USB port on your PC. Then hold the pairing button on your controller for about three seconds until the LED starts flashing. The dongle should pick it up right away.
Most people ask me which one’s better. Wired gives you zero latency and you never worry about battery life. Wireless gives you freedom to move around (great if you’re playing from a couch).
I switch between both depending on the game. Competitive shooters? Wired every time. Casual stuff? Wireless works fine.
Connecting to Consoles
The Nintendo Switch needs one extra step that trips people up.
When you learn how to set up Lcfgamestick on Switch, you have to enable ‘Pro Controller Wired Communication’ in the system settings. Without this, your controller won’t register at all.
Go to System Settings, then Controllers and Sensors, and toggle that option on. Then connect via USB and you’re good.
Step 2: Installing the Core Configuration Software
You can’t just plug in your LCF Gamestick and expect magic.
Well, you can play games right away. But you’re leaving performance on the table.
The configuration software is what turns your Gamestick from a basic controller into something you actually control. We’re talking custom button layouts, dead zone adjustments, and firmware that fixes bugs you didn’t even know existed.
Why You Need This Software
Here’s what the core software does. It lets you remap any button to any function. It gives you control over stick sensitivity (which matters more than most people realize). And it pushes firmware updates that can change how your Gamestick responds.
Without it? You’re stuck with factory settings.
Some players say they don’t need software because they adapt to whatever setup they get. Fair point. But when you’re learning how to set up lcfgamestick properly, skipping this step means you’re fighting against your own hardware.
Finding and Installing the Software
Search for “LCFGAMESTICK official software” in your browser. You want the official download, not some third-party tool that promises extra features.
Download the installer. Run it. Follow the prompts.
It takes maybe three minutes.
What Happens on First Launch
Open the software and you’ll probably see a firmware update notification. Don’t skip it. These updates fix input lag, improve Bluetooth stability, and sometimes add new profile options.
After the update finishes, you’ll see a blank profile screen. That’s normal. You haven’t created any custom setups yet.
The interface shows your connected Gamestick on the left. Configuration options on the right.
Now you’re ready to actually customize something.
Step 3: The Main Event – Core Button Mapping
This is where most people mess up.
I’ll be honest. The first time I tried remapping my controller, I made it completely unusable. Swapped too many buttons at once and couldn’t figure out how to undo it (the panic was real).
So let me save you that headache.
Understanding the Interface
When you open your remapping software, you’ll see a controller layout on screen. It shows every button, trigger, and stick.
Most programs organize this into sections. Profiles on the left. Button assignments in the center. Triggers and sensitivity controls on the right.
Don’t touch everything at once. That’s mistake number one.
Remapping Face Buttons
Let’s start simple. Say you’re playing an RPG where the jump button is A and interact is B. But you keep accidentally jumping when you want to talk to NPCs.
Click on the A button in your software interface. You’ll see a dropdown or assignment field. Select the function you want (in this case, “interact”). Then click B and assign it to “jump.”
Pro tip: Test one change at a time before moving to the next button. I learned this after creating a profile where my crouch button also opened my inventory.
Configuring Triggers and Bumpers
Here’s where competitive players get an edge.
In most FPS games, faster trigger response means faster shots. You can adjust the actuation point so your trigger registers at 50% pull instead of 100%.
Look for “trigger deadzone” or “actuation point” settings. Slide it down gradually. Too sensitive and you’ll fire by accident. Too slow and you’re back where you started.
I set mine to about 60% for shooters. Full pull for racing games where I need throttle control.
Assigning D-Pad and Analog Sticks
Movement needs to feel right or everything falls apart.
Check your stick sensitivity first. If your character drifts when you’re not touching anything, increase the deadzone slightly. If movement feels sluggish, decrease it.
For the D-pad, I usually keep it stock unless I’m playing a fighting game. Then I’ll map specific combos to single directions (but that’s advanced stuff).
Saving Your Profile
This part is critical.
I spent two hours setting up a perfect racing profile once. Forgot to save it. Had to start over.
Name your profiles clearly. “Forza Setup” or “Call of Duty Config” works better than “Profile 1” when you’ve got ten different games.
Most software lets you switch profiles with a button combo. I use LB + RB + Menu to cycle through mine during game sessions.
Different games need different setups. Your fighting game profile shouldn’t be the same as your racing profile. Save multiple configurations and you’ll thank yourself later.
Want the full walkthrough on how to set up lcfgamestick? Check the complete instructions for lcfgamestick guide.
One more thing. Back up your profiles. Export them to a file if your software allows it. I’ve lost custom configs to software updates more times than I’d like to admit.
Step 4: Advanced Customization for a Competitive Edge
You’ve got the basics down.
Now it’s time to talk about the settings that separate good players from great ones.
Most people skip this stuff. They think default settings are good enough. But here’s what I’ve learned after years of competitive play: the players who win are the ones who make their controller work FOR them.
Let me show you three tweaks that’ll give you an edge.
Adjusting Analog Stick Dead Zones I explore the practical side of this in Upgrades Lcfgamestick.
Dead zone is the area where your stick can move without registering input. Think of it like play in a steering wheel.
When you set up how to set up lcfgamestick, you want to shrink that dead zone if you’re dealing with stick drift (when your aim moves on its own). A smaller dead zone means faster response but can feel twitchy.
Got steady hands? Go smaller. Struggle with micro-movements? Keep it larger for smoother control.
Tuning Sensitivity Curves
Here’s where it gets interesting.
Linear curves mean your aim speed matches your stick movement exactly. Move the stick halfway and you get 50% speed. Simple math.
Exponential curves start slow then ramp up fast. This gives you precision for small adjustments but lets you whip around when you push the stick all the way.
For shooters? I recommend exponential. You get the best of both worlds.
Creating Simple Macros
This one’s a game changer for fighting games.
You can program a FULL COMBO to one paddle press. That three-button sequence that requires perfect timing? Map it to a single input.
Just remember: some competitive scenes ban macros. Check the rules before you compete. How to Configure Lcfgamestick is where I take this idea even further.
These three settings take maybe ten minutes to dial in. But they’ll save you hundreds of hours of fighting against your own controller.
Bonus: Optimizing for Emulators and Retro Gaming
The LCFGamestick handles emulation better than most people expect.
I’ve tested it across dozens of retro titles and the performance holds up. But here’s what matters more: proper configuration means you get that authentic feel without the headaches of tracking down original hardware.
Why This Setup Works for Emulation
The controller layout gives you enough buttons to map everything you need. Whether you’re running SNES classics or N64 games, you won’t find yourself short on inputs (which honestly surprised me at first).
Plus the stick itself runs RetroArch without breaking a sweat.
RetroArch Configuration That Actually Works
When you learn how to set up lcfgamestick with RetroArch, start with the hotkey setup. Map one button as your hotkey enabler. I use Select because it mirrors what I’m used to from actual consoles.
Then assign your save state functions. Hotkey plus L1 for save, hotkey plus R1 for load. Fast forward goes on hotkey plus R2.
This gives you quick access without accidentally triggering functions mid-game.
Console-Specific Mapping
For SNES games, keep the button layout simple. A and B on the right positions, X and Y above them. The shoulder buttons map directly.
N64 gets trickier because of the C-buttons. I map those to the right analog stick which works better than you’d think for games like Goldeneye.
The benefit? You stop fighting the controls and actually enjoy the games you’re trying to play.
Troubleshooting Common Configuration Issues
Your controller isn’t showing up and you’re staring at that blinking cursor on screen.
I’ve been there. That moment when you just want to play but your setup decides to throw a fit.
Controller Not Detected
Try a different USB port first. I know it sounds basic but the back ports on your PC usually work better than the front ones. You can feel the difference when you plug in (the back ports have that solid click).
If that doesn’t work, reinstall your drivers. Then restart your PC. Sometimes Windows just needs a fresh start to recognize what’s connected.
Input Lag
This one’s frustrating. You press a button and there’s that split-second delay that throws off your entire game.
Switch to wired if you can. The difference is instant. No more watching your character move a heartbeat after you input the command.
If you need wireless, make sure the dongle has clear line of sight. Move it away from the back of your tower where all those metal components block the signal.
Buttons Not Responding
When specific buttons stop working, you’ve got two options.
Factory reset the controller. Hold down the small reset button on the back (you’ll need a paperclip) for about five seconds until you see the lights flash.
Or restore default profiles in your software. Check your lcfgamestick resolution settings while you’re in there to make sure everything’s configured right.
Most issues come down to how to set up lcfgamestick properly from the start. Get that right and you’ll avoid half these problems.
Your Controller, Your Rules
You now have a fully configured LCFGAMESTICK that matches your playstyle.
No more fighting with default settings or dealing with inputs that feel off. You connected the hardware, installed the software, and mapped your controls exactly how you want them.
That’s the difference between playing a game and owning it.
Stop tweaking and start playing. Load up your favorite game right now and feel what a personalized setup actually does for your performance.
Your LCFGAMESTICK is ready. Time to put it to work.
 Founder & CEO
There is a specific skill involved in explaining something clearly — one that is completely separate from actually knowing the subject. Kaelith Eldwain has both. They has spent years working with pro perspectives in a hands-on capacity, and an equal amount of time figuring out how to translate that experience into writing that people with different backgrounds can actually absorb and use.
Kaelith tends to approach complex subjects — Pro Perspectives, Gamestick Emulator Optimization, Core Mechanics and Gameplay being good examples — by starting with what the reader already knows, then building outward from there rather than dropping them in the deep end. It sounds like a small thing. In practice it makes a significant difference in whether someone finishes the article or abandons it halfway through. They is also good at knowing when to stop — a surprisingly underrated skill. Some writers bury useful information under so many caveats and qualifications that the point disappears. Kaelith knows where the point is and gets there without too many detours.
The practical effect of all this is that people who read Kaelith's work tend to come away actually capable of doing something with it. Not just vaguely informed — actually capable. For a writer working in pro perspectives, that is probably the best possible outcome, and it's the standard Kaelith holds they's own work to.
Founder & CEO
There is a specific skill involved in explaining something clearly — one that is completely separate from actually knowing the subject. Kaelith Eldwain has both. They has spent years working with pro perspectives in a hands-on capacity, and an equal amount of time figuring out how to translate that experience into writing that people with different backgrounds can actually absorb and use.
Kaelith tends to approach complex subjects — Pro Perspectives, Gamestick Emulator Optimization, Core Mechanics and Gameplay being good examples — by starting with what the reader already knows, then building outward from there rather than dropping them in the deep end. It sounds like a small thing. In practice it makes a significant difference in whether someone finishes the article or abandons it halfway through. They is also good at knowing when to stop — a surprisingly underrated skill. Some writers bury useful information under so many caveats and qualifications that the point disappears. Kaelith knows where the point is and gets there without too many detours.
The practical effect of all this is that people who read Kaelith's work tend to come away actually capable of doing something with it. Not just vaguely informed — actually capable. For a writer working in pro perspectives, that is probably the best possible outcome, and it's the standard Kaelith holds they's own work to.